Semi-Custom Ideas to Make Your Invitations Look Luxe on Any Budget: Creating your own wedding invitations at home is easier — and more beautiful — than most couples realize. With today’s digital stationery, professional print-at-home options, and a few thoughtful styling touches, you can create invitations that look custom, feel luxurious, and perfectly reflect your personality. Keep scrolling for our simple and unique DIY wedding invitations ideas.
This guide walks you through:
- Elegant semi-custom ideas to elevate DIY invitations
- How to order digital prints and print them from home
- The best cardstock for wedding invitations
- Pressed flower embellishments
- How to turn the project into a fun girls’ night in with your bridesmaids
- And sample suites from my Zazzle store you can customize instantly
What Are Semi-Custom DIY Wedding Invitations?
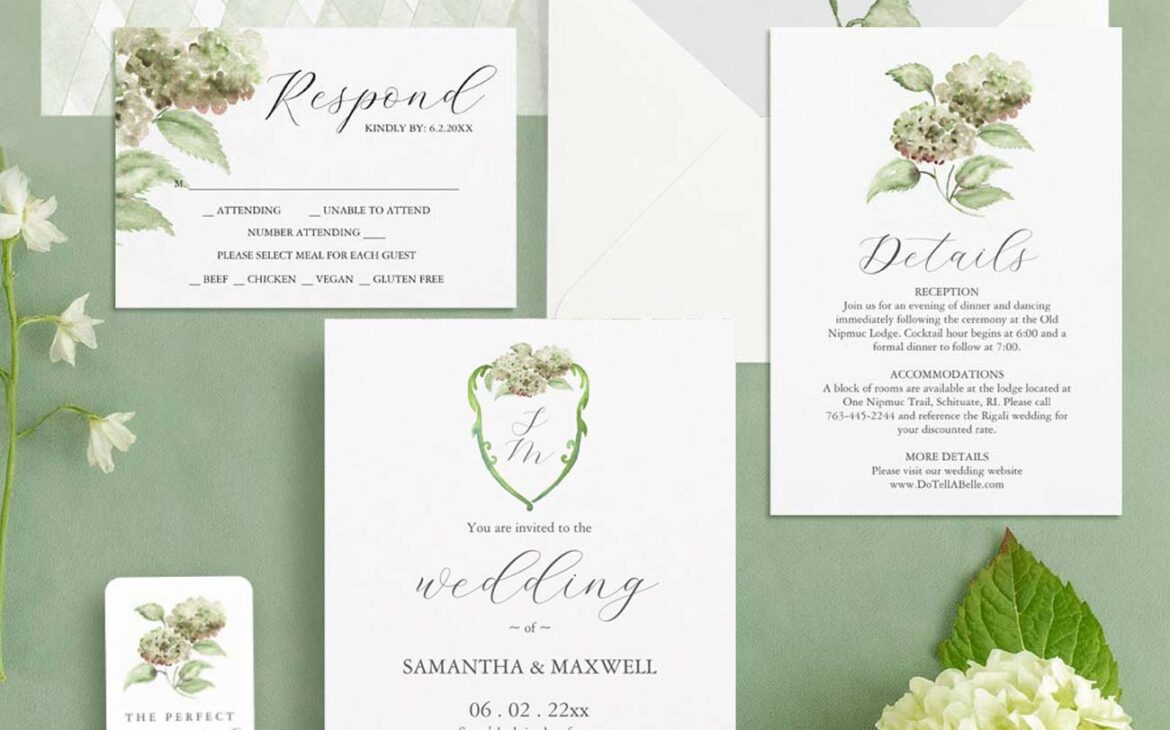
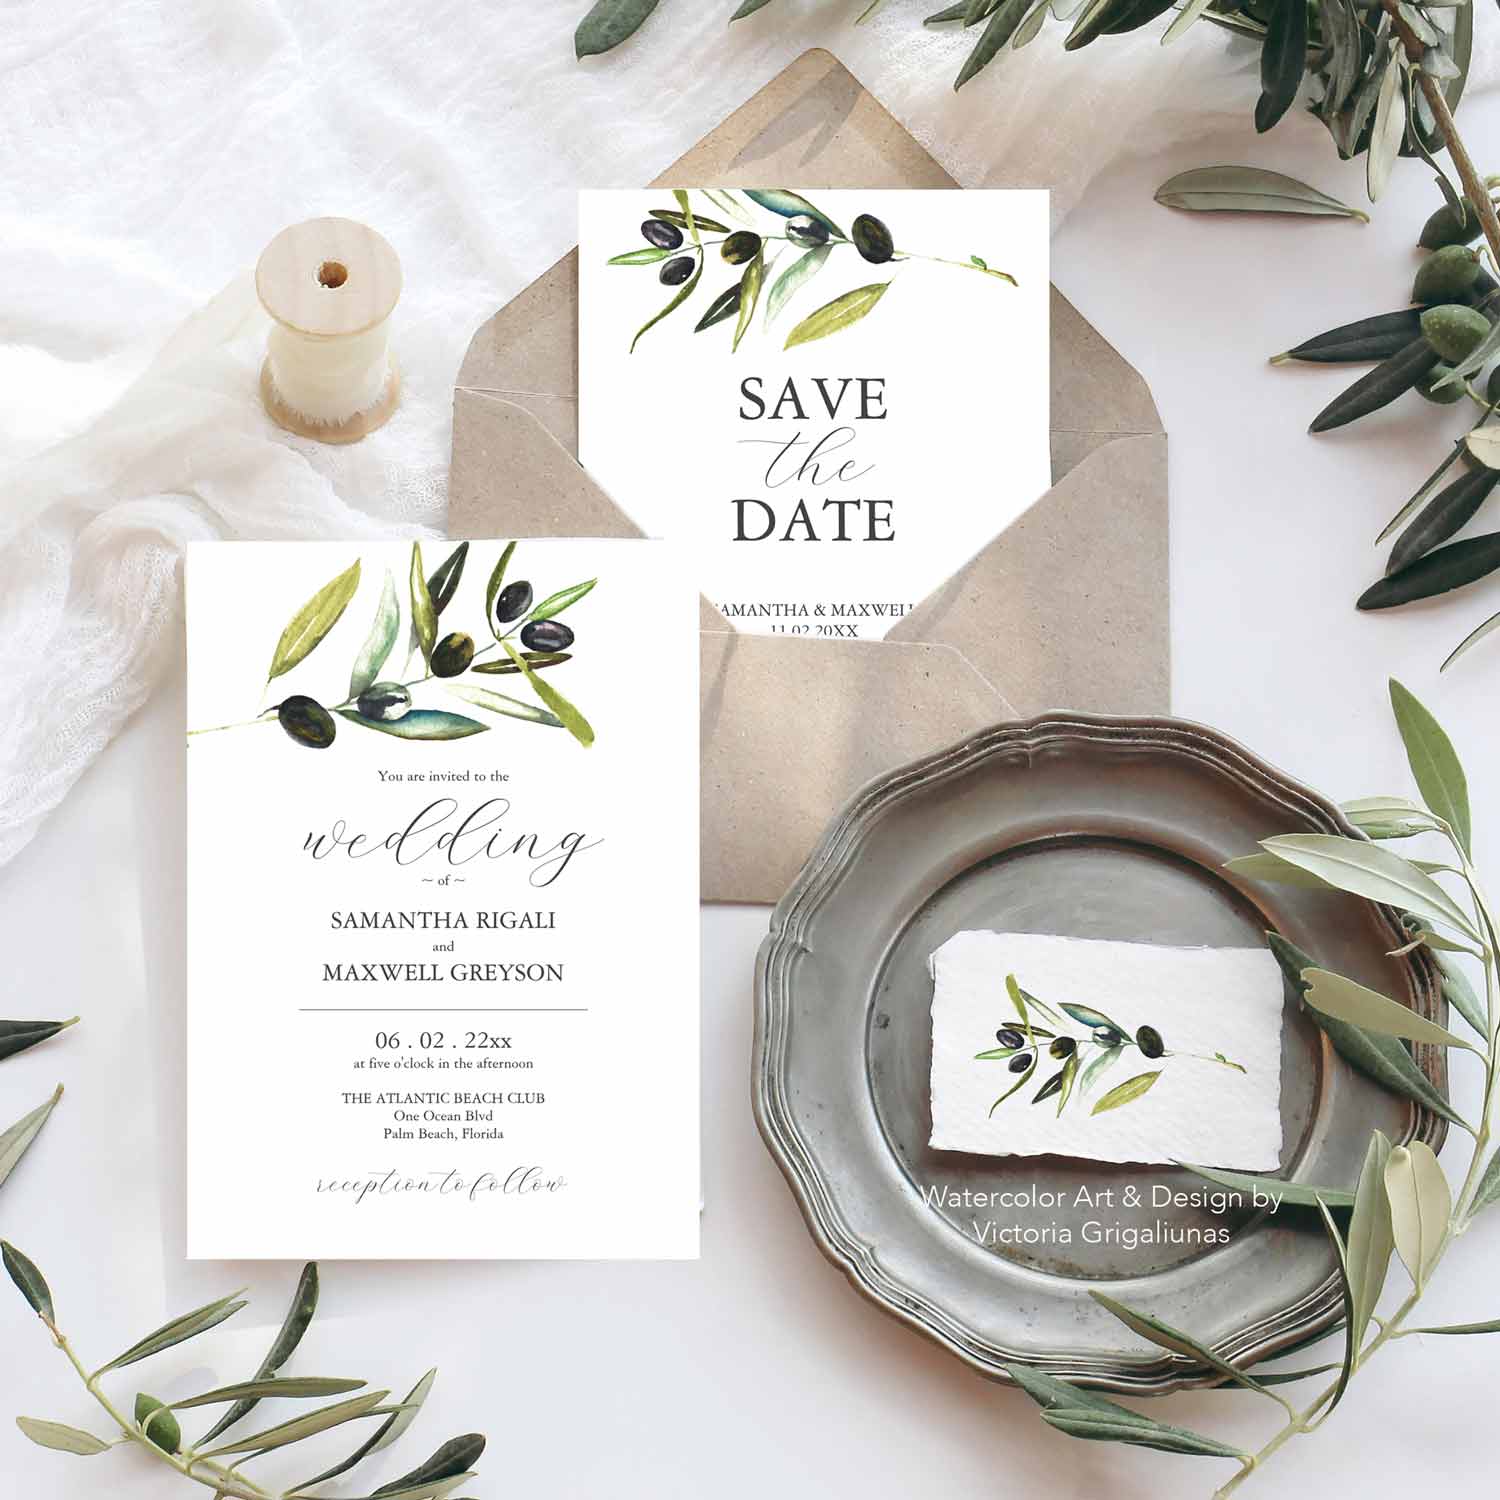
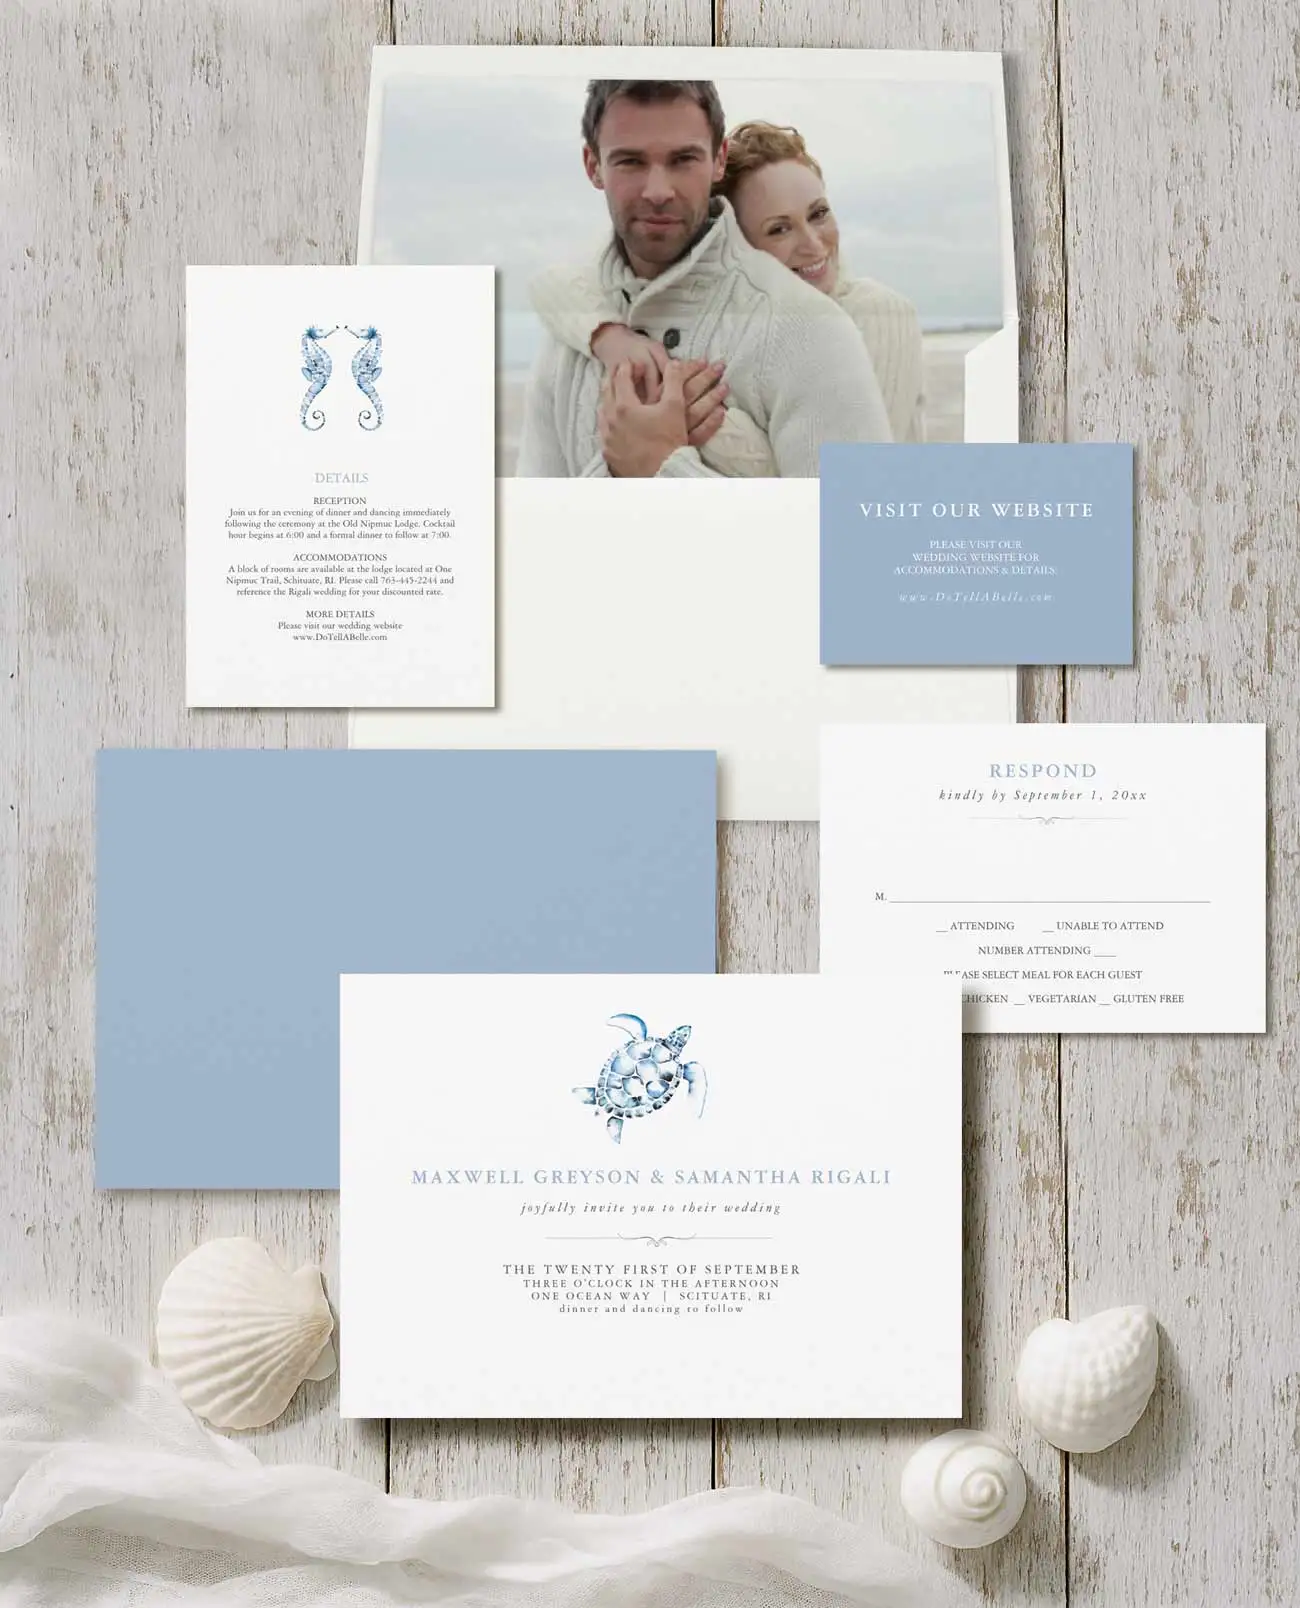
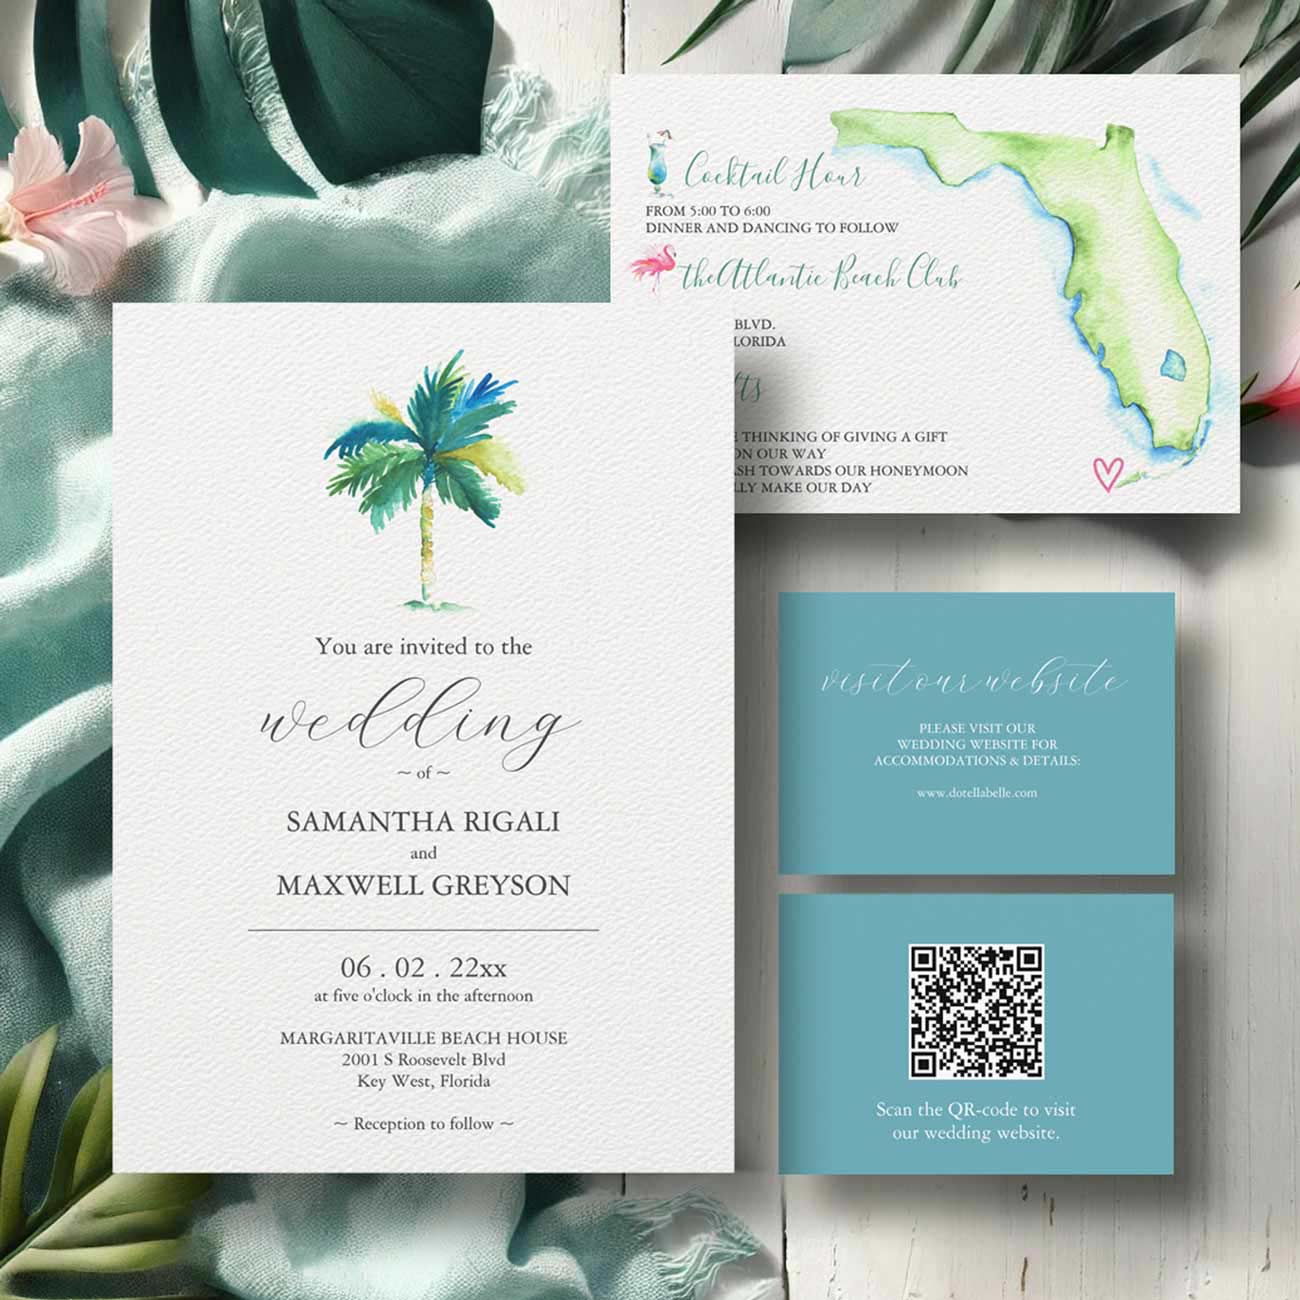
Semi-custom invitations let you start with a professionally designed template (like the watercolor suites in my Zazzle shop) and personalize the details—names, date, color accents, layout, and back design—while keeping the cost far below a fully bespoke invitation suite.

You get:
- Original watercolor artwork
- Professional typography
- A coordinated suite (invite, RSVP, details card, envelope options)
- Your choice of printed or digital files
- Creative freedom to add your own handmade touches
This style is perfect for couples who want something elevated yet budget-friendly, and who enjoy being part of the creative process.
1. How to Order Digital Invitations and Print at Home
Many couples don’t realize they can order digital-ready versions of their invitations from Zazzle. This allows you to download a high-resolution file and print directly from home or at a local print shop.
Steps to Order & Print at Home
- Choose your favorite design from my Zazzle shop (watercolor florals, beach weddings, coastal weddings, monograms, etc.).
- Customize your text using the editing tool.
- Select the digital download option if available.
- Download your file (usually a PDF or JPG).
- Print at home using quality cardstock (recommendations below).
- Trim if needed using a paper trimmer for clean, professional edges.
Best Practices
Do a test print first on plain paper to check spacing and information
Print one copy on your chosen cardstock to test color
Adjust printer settings: select Best Quality and Cardstock / Heavy Paper
Allow printed cards to fully dry before stacking
Store finished prints under a book overnight to keep them flat
2. The Best Cardstock for DIY Wedding Invitations
Your paper choice has a huge impact on how “luxe” your invitations feel. Here are the top recommendations for at-home printing:
Best Weight for Invitations
- 80 lb – 110 lb cardstock = Ideal for most home printers
- Matte or linen texture prints watercolor designs beautifully
- Smooth white or soft ivory works for most themes
Paper Finishes to Consider
✔️ Matte cardstock
Clean, polished, classic, and prints watercolor artwork accurately.
✔️ Linen / textured cardstock
Adds a soft woven texture — perfect for garden weddings.
✔️ Pearl shimmer cardstock
Elegant and upscale, works beautifully with greens, blues, and neutrals.
Avoid: Very heavy 130–160 lb cardstock unless you know your printer can handle it. Many can’t.
3. Add Luxe Handmade Touches to Make Your DIY Invitations Look Custom
Once your invitations are printed, you can add personal styling elements that make your suite look high-end and completely unique.
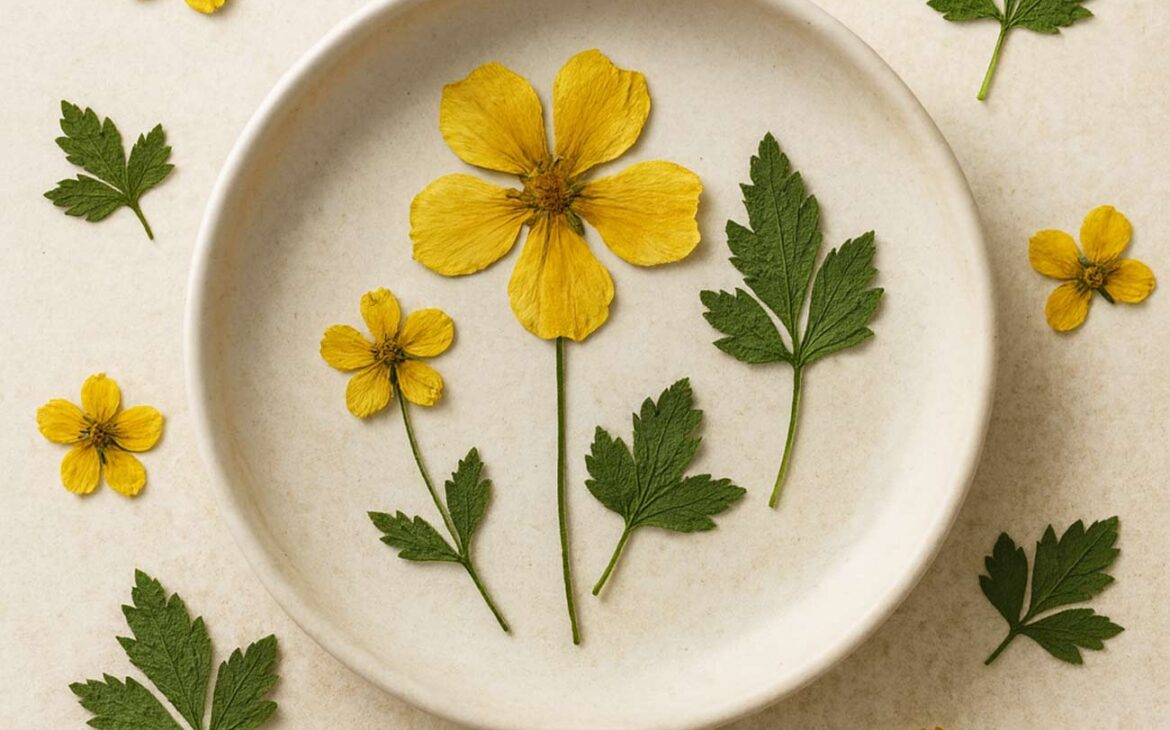
Pressed Flowers (Eco-Friendly & Long Lasting)
Pressed flowers add a delicate, romantic detail to any invitation suite. They’re surprisingly easy to make at home.
How to Press Flowers at Home
- Choose thin flowers: pansies, hydrangea petals, baby’s breath, daisies.
- Place the florals between sheets of parchment paper.
- Tuck them inside a heavy book (or use a flower press).
- Add additional heavy books on top.
- Leave for 7–10 days.
- Once dried, use a tiny dot of acid-free glue to attach petals to:
- The invitation border
- Belly band
- Envelope liner
- Wax seal backing
Pressed flowers create an organic, eco-friendly alternative to plastic or silk elements — and they last for years.
4. More DIY Embellishments to Elevate Your Suite
Here are more easy, budget-friendly upgrades:
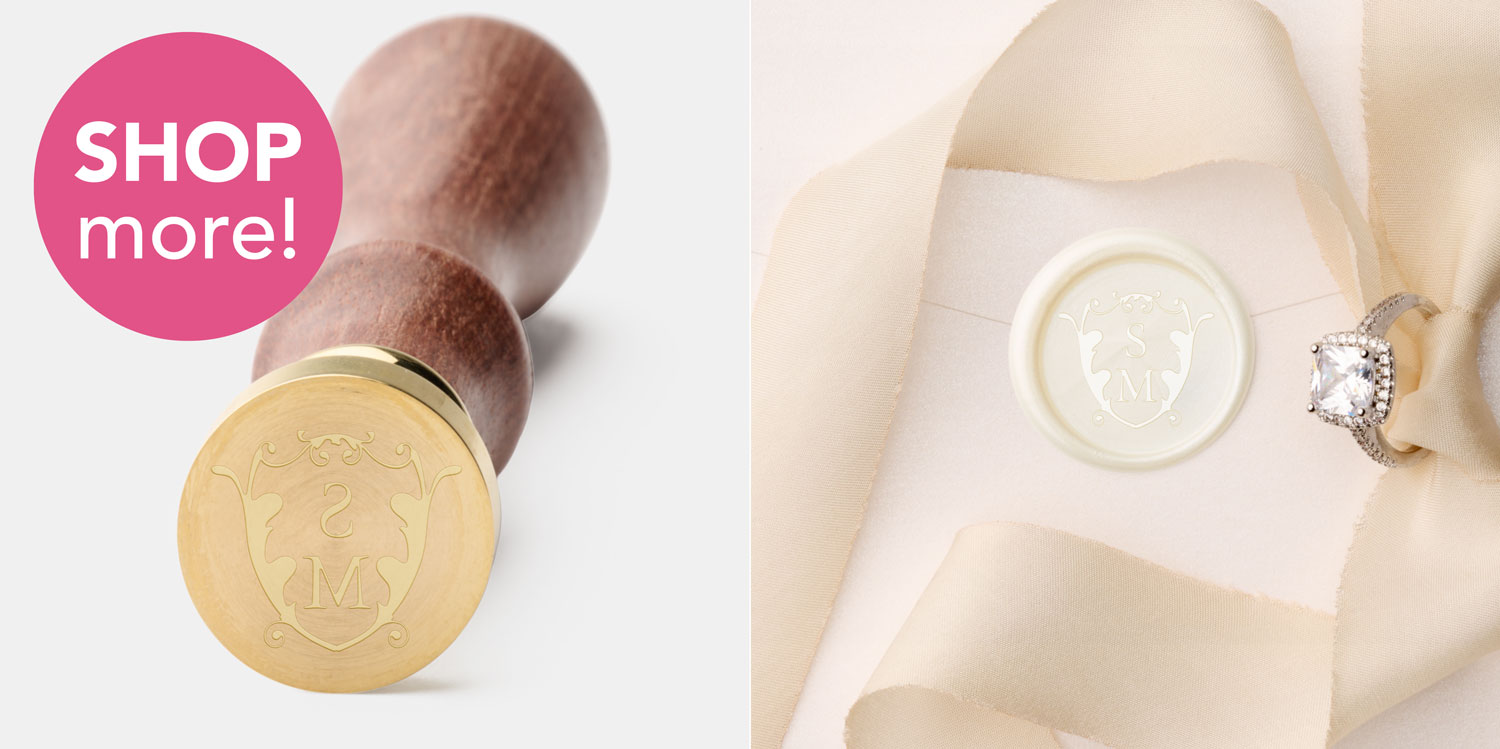
✔️ Wax Seals
You can order premade seals or DIY them with a wax kit.
They instantly create a fine-art, heirloom look.
✔️ Belly Bands
Use vellum or matching cardstock to wrap your suite. Add twine, ribbon, or pressed petals for extra charm.
✔️ Envelope Liners
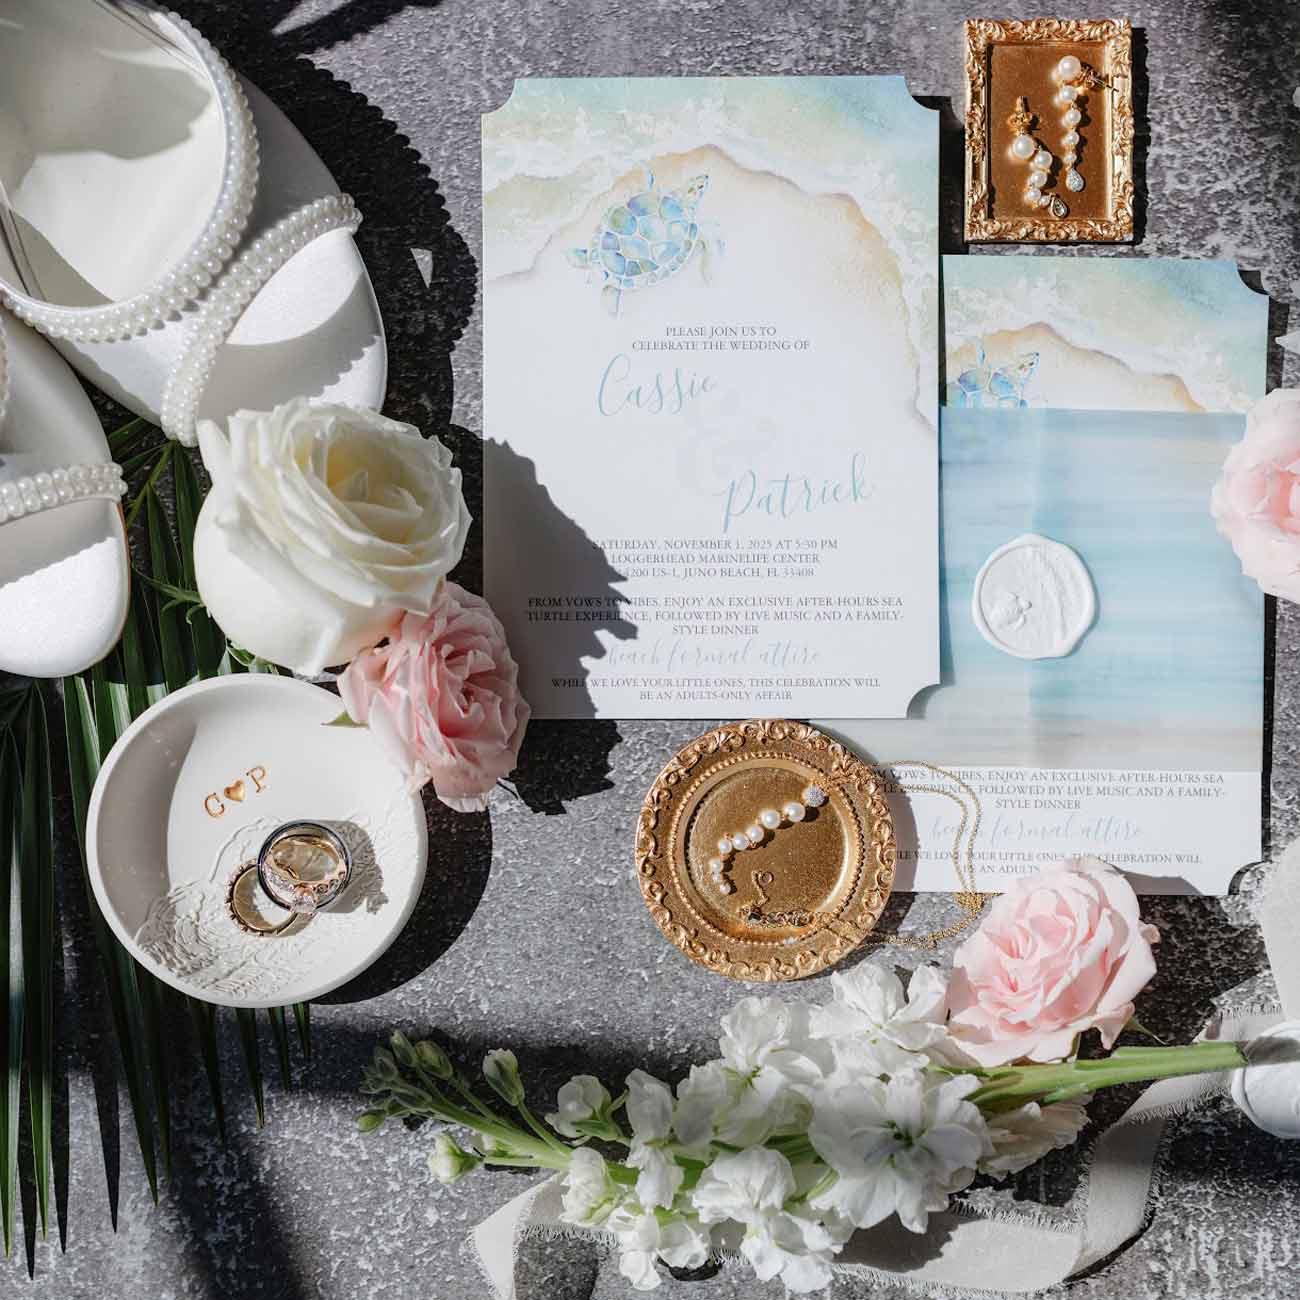
Print a watercolor scene (like Jupiter Lighthouse or a custom venue painting) on lightweight paper and insert it into envelopes.
✔️ Rounded Corners
Use a corner-rounder punch for a boutique finish.
✔️ Hand-Tied Ribbon
Silk ribbon, cotton ribbon, or twine adds texture and softness.
These touches turn a simple invitation into a magazine-worthy flatlay.
5. Make It a Girls’ Night In: DIY Together
One of the sweetest parts of DIY invitations is sharing the experience with your bridesmaids. Turn it into a fun night filled with creativity, laughter, and good food.
How to Host a DIY Invitation Night
- Pour wine, sparkling rosé, or mocktails
- Make a charcuterie board
- Set up stations: trimming, pressing flowers, wax seals, assembly
- Play your favorite bridal playlist
- Celebrate each batch you finish!
If you’re in the Palm Beach area, try charcuterie from Joel at Graze Craze — he creates stunning boards that pair beautifully with wine and will make your DIY night feel like a mini celebration.
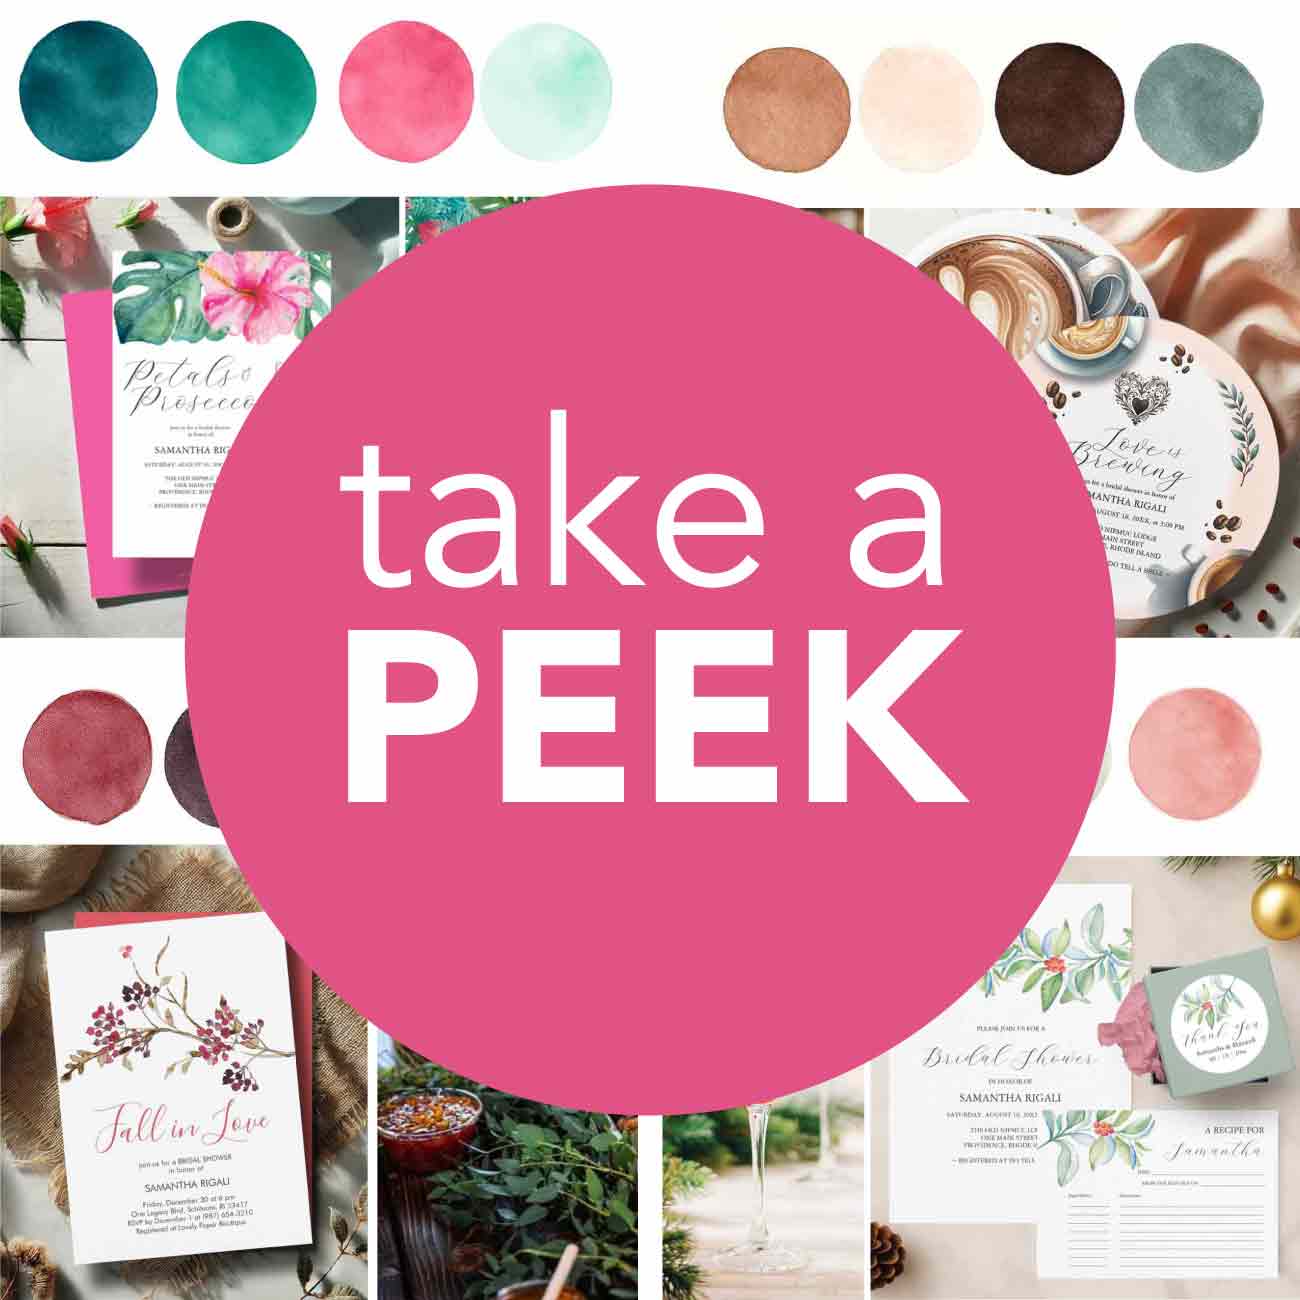
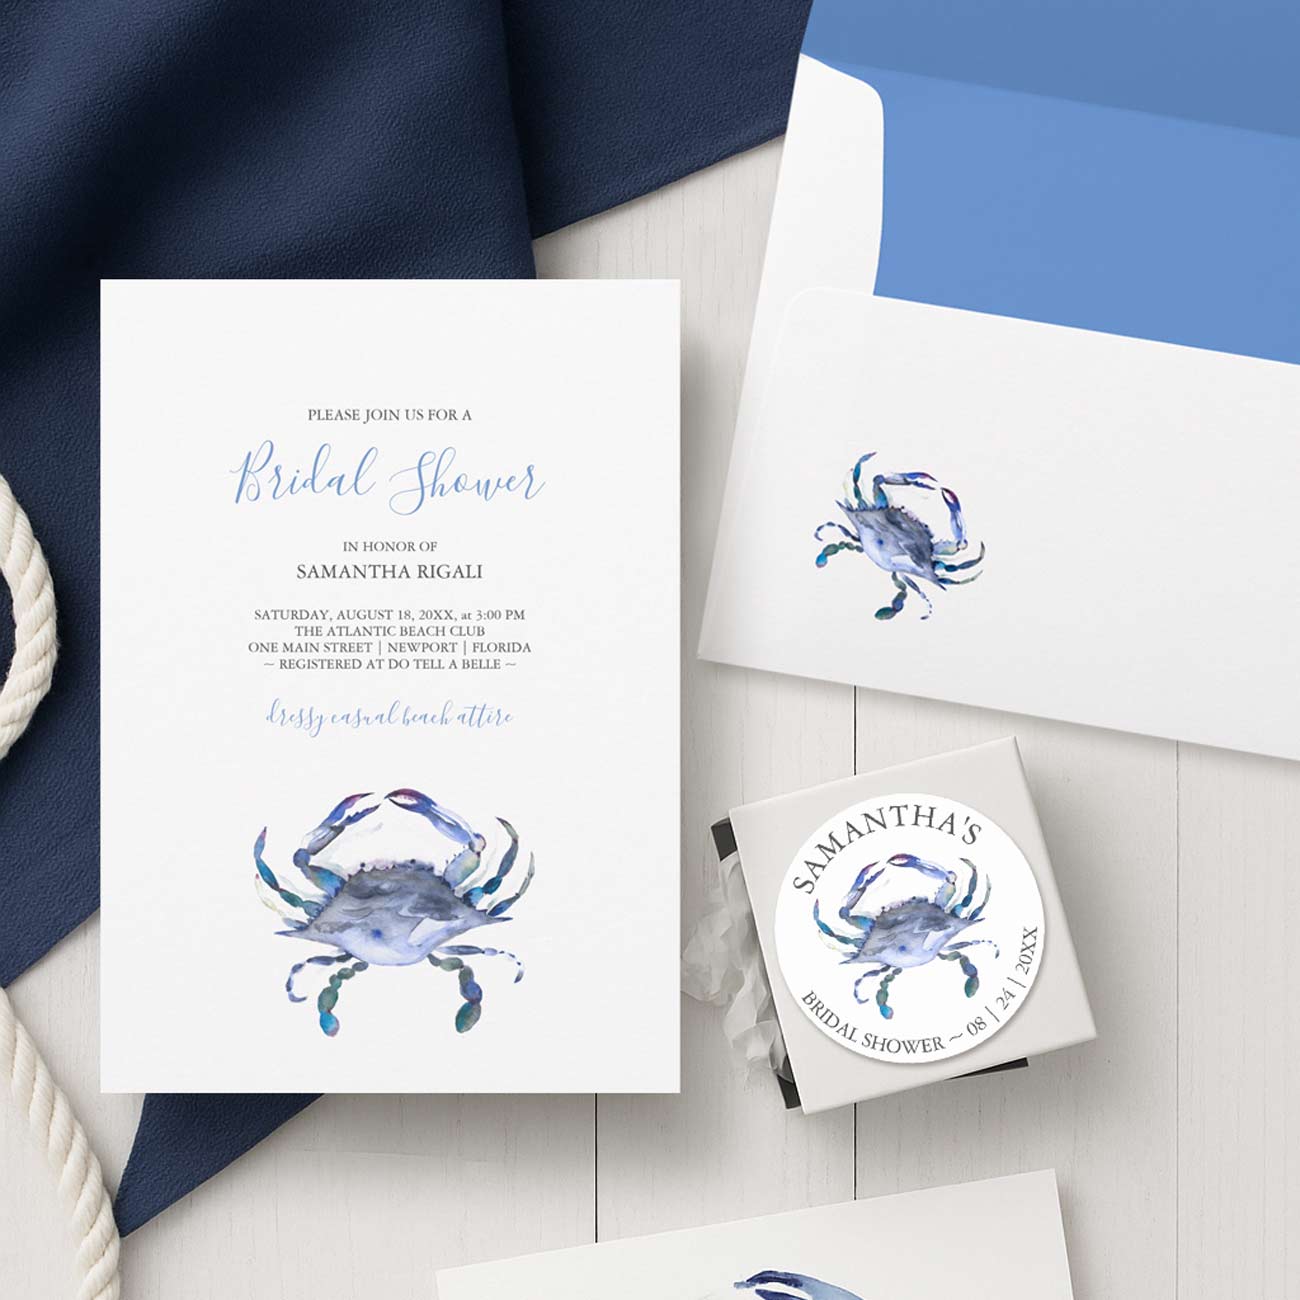
6. Try These Semi-Custom Designs (From My Watercolor Zazzle Collections)

Final Tips for DIY Brides
- Create/Order 10–15 extra invitations in case of mistakes or last-minute guests.
- Assemble your suite in natural daylight for the most accurate color matching.
- Invest in a good paper trimmer to avoid crooked edges.
- Store finished invitations in a clean, dry box until mail day.
Your Invitations, Your Story
Creating your wedding invitations at home doesn’t mean sacrificing beauty or elegance. With semi-custom templates, professional watercolor artwork, and a few heartfelt DIY touches, you can craft a suite that feels personal, elevated, and unforgettable — all while staying comfortably within your budget.
If you’d like help choosing a design or want a custom watercolor venue portrait added to your suite, feel free to reach out — I’d love to help bring your vision to life.
You may also enjoy our articles on DIY Bridal Shower Ideas. Tap the image below to explore more: